 Creating an RSEC Review
Process Overview
This procedure guide provides step-by-step instructions for completing a Research Security and Export Control (RSEC) Review in the PERA system. It outlines how to create an agreement, enter required information, assign ownership, and manage related submissions. The guide also explains how to review and approve language, generate and edit the agreement, and finalize the process by activating the RSEC Review. Following these steps will ensure the review is completed accurately and in compliance with institutional requirements.
Icons Guide
Create an RSEC Review
1. Create Agreement
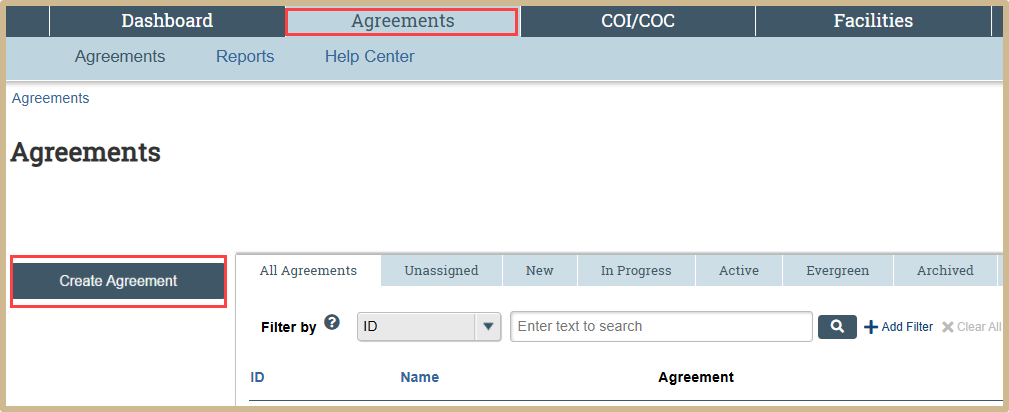
Within the Agreements module, select Create Agreement.

![]() 1. PERA uses the % symbol as the Boolean search modifier. Use the symbol to expand your search. It can be used anywhere in the search field, but may affect results depending on where it is placed.
1. PERA uses the % symbol as the Boolean search modifier. Use the symbol to expand your search. It can be used anywhere in the search field, but may affect results depending on where it is placed.
2. For example, if you were searching for “The College Department”:
- A search of “The Department” would not return the intended result, but “The % Department” would.
- A search of “%College” or “%College%” would return “The College Department”.
- A search of “College%” or “College” would give results such as “College Department”, but NOT “THE College Department”.
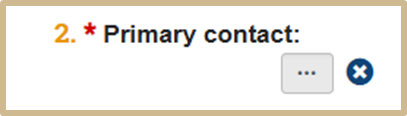
For RSEC reviews the Primary contact field is not used. Please add N/A.
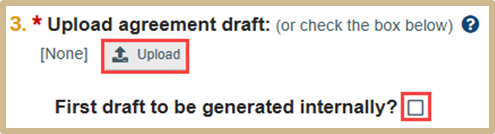
![]() If the agreement document has already been drafted, you can attach it to the Agreements SmartForm by clicking the Upload button.
If the agreement document has already been drafted, you can attach it to the Agreements SmartForm by clicking the Upload button.
However, if Agreements office staff are going to create the first draft of the agreement, check the First draft to be generated internally? box instead. Agreements office staff will generate or upload a draft by running the Generate Agreement activity.
Note: If you upload a draft here and Agreements office staff subsequently generate or upload a draft, their document will automatically replace the one you uploaded on this page

![]() Type a short name for the agreement. As a guideline, keep it shorter than 50 characters.
Type a short name for the agreement. As a guideline, keep it shorter than 50 characters.
For RSEC Reviews we follow a strict naming convention: “RSEC Review for [specific project]”.
This text appears throughout the system as the agreement name, for example, in My Inbox.
This will be automatically generated if left blank, and may be changed later.
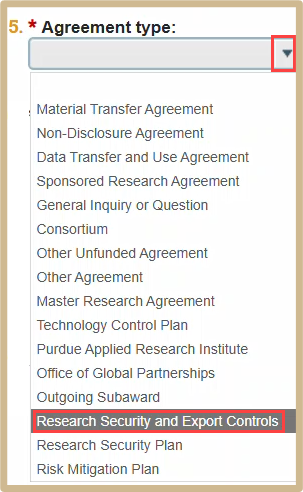
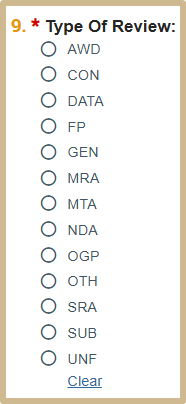
Select Research Security and Export Controls as the Agreement type.
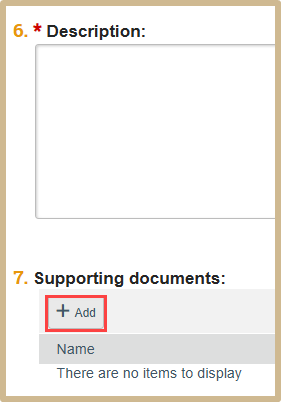
Include the names of the specific projects any supporting documentation needed.
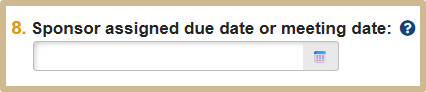
![]() Indicate only if:
Indicate only if:
1. There is a date the Sponsor has specifically required the NDA to be completed by.
2. There is a scheduled meeting with the Sponsor in which Confidential Information is intended to be exchanged.
When finished, select Continue to move to the next page, General Information.
1.1 General Information
![]() 1. PERA uses the % symbol as the Boolean search modifier. Use the symbol to expand your search. It can be used anywhere in the search field, but may affect results depending on where it is placed.
1. PERA uses the % symbol as the Boolean search modifier. Use the symbol to expand your search. It can be used anywhere in the search field, but may affect results depending on where it is placed.
2. For example, if you were searching for “The College Department”:
- A search of “The Department” would not return the intended result, but “The % Department” would.
- A search of “%College” or “%College%” would return “The College Department”.
- A search of “College%” or “College” would give results such as “College Department”, but NOT “THE College Department”.
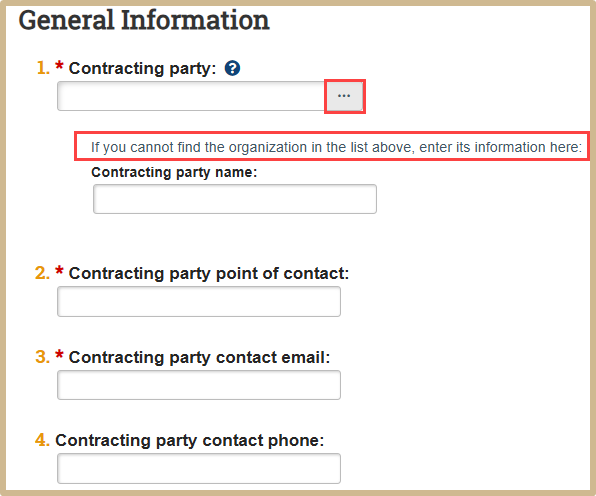
Fill in the Contracting party information. First try searching for the party by either typing the name in #1 or by clicking on the 3 dots. If you cannot find the organization on the list, then enter its information in the box. For questions 2 through 4 fill in the contacting party’s information. If you do not have the information available, please put N/A in the box fields.
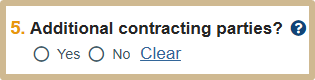
![]() Provide information for additional external parties or Sponsors that should be an additional party or signatory to the Agreement.
Provide information for additional external parties or Sponsors that should be an additional party or signatory to the Agreement.
![]() Only if Yes was selected in #5
Only if Yes was selected in #5

Select Add to add any additional Contracting Parties.

![]() By default, this field displays the organization of the Agreements Manager/PI entered on the Agreement Upload page. If no value displays, then you must select a value.
By default, this field displays the organization of the Agreements Manager/PI entered on the Agreement Upload page. If no value displays, then you must select a value.
In case the Manager/PI is changed in an agreement, the organization value gets updated automatically. In an integrated environment, if an agreement is created from a Funding Proposal or Award, this field populates with the value from the Funding Proposal or Award.
In an integrated environment, if an agreement is created from a Funding Proposal or Award, this field populates with the value from the Funding Proposal or Award.


![]() Non-Purdue Sponsor Address
Non-Purdue Sponsor Address
![]() Only if Yes was selected in #5
Only if Yes was selected in #5

Once finished, select Continue to move to the next page, Completion Instructions.
1.2 Completion Instructions

Follow the steps outlined in the Completion Instructions.
Once you have finished, select Finish to exit the form.
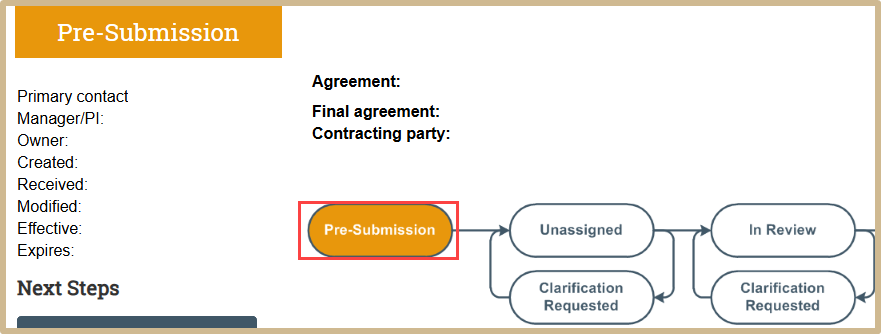
Your RSEC Review is now in the “Pre-Submission” status.
2. Submit RSEC Review
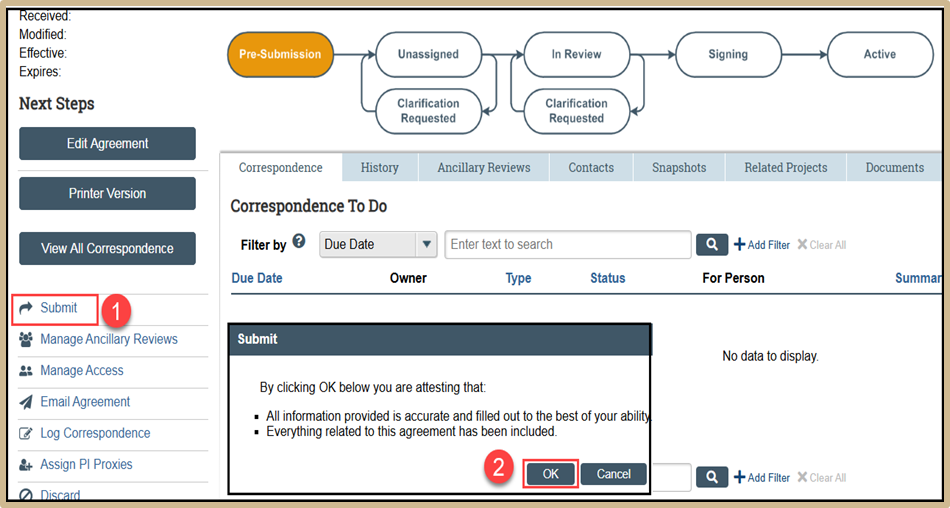
Select Submit. Confirm that all the information is correct and select OK.
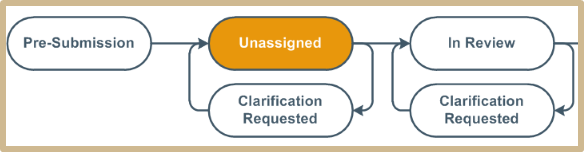
The RSEC Review will now be in an Unassigned stage.
3. Assign Owner to RSEC Review
After RSEC has gathered all necessary information from the PI and no further changes are needed to the letter an owner needs to be assigned to the RSEC Review.
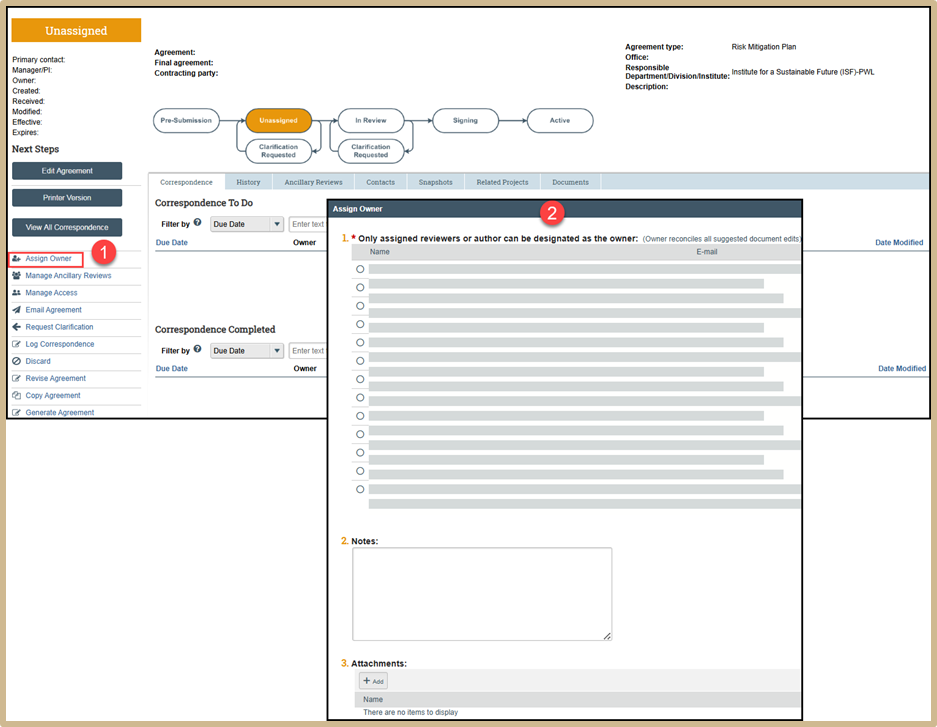
Select Assign Owner. Select the assigned reviewers or author as the designated owner. Add any notes or relevant attachments. When finished select OK.

The status will now change to In Review.
4. Manage Relationships
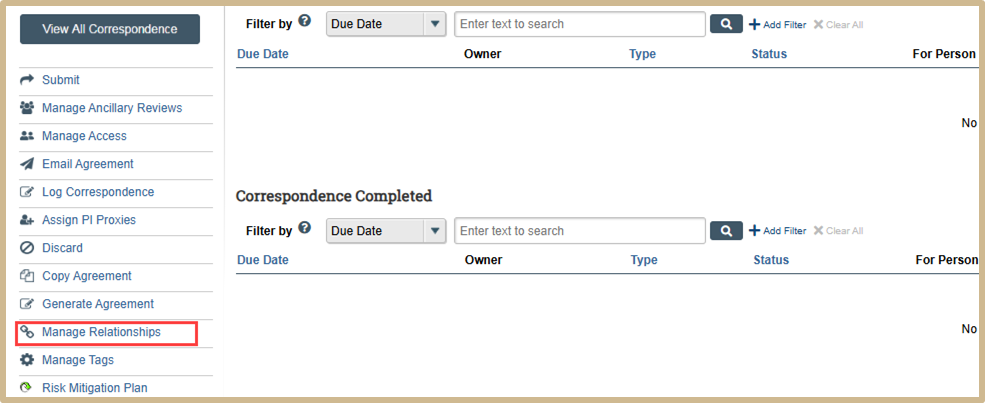
Click “Manage Relationships” from the Dashboard.
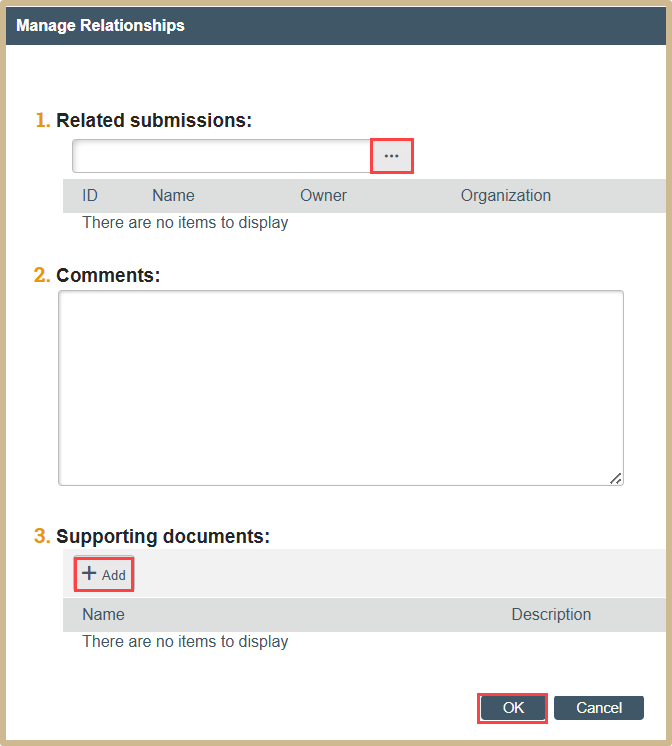
Add any related submissions needed. Once finished, select OK.
The reference to the RSEC review will now show up on the related PERA record.
5. Create RSEC Review
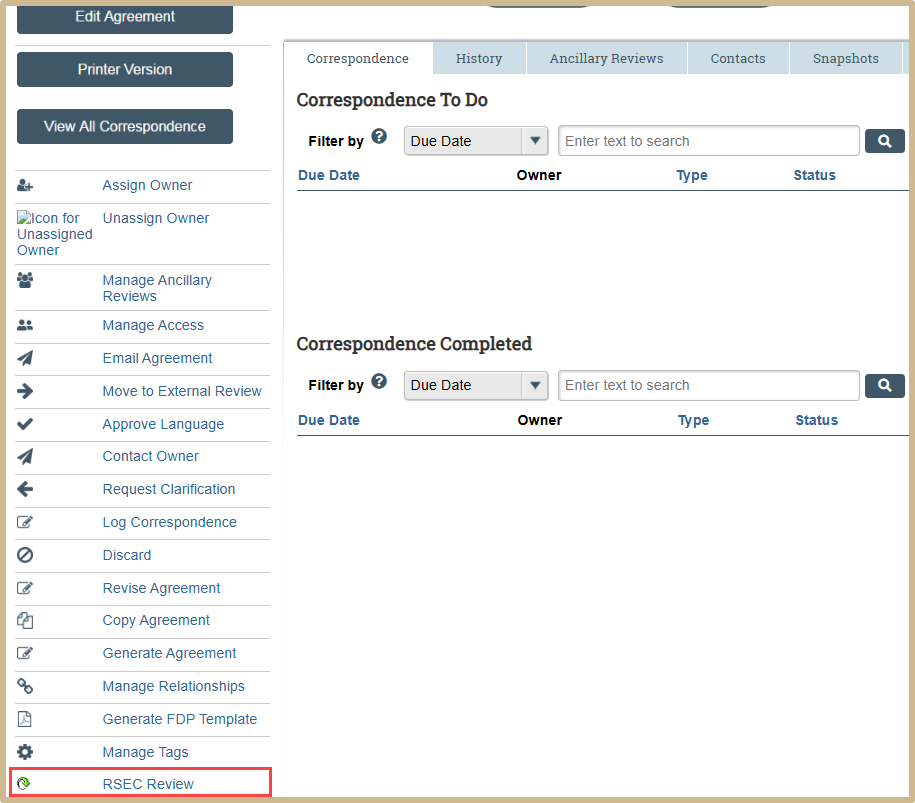
Click RSEC Review.

![]() Only if Yes was selected in #1
Only if Yes was selected in #1

![]() Only if Yes was selected in #2
Only if Yes was selected in #2


![]() Only if Yes was selected in #3
Only if Yes was selected in #3

![]() Only if Yes was selected in #4
Only if Yes was selected in #4

![]() Only if Yes was selected in #5
Only if Yes was selected in #5
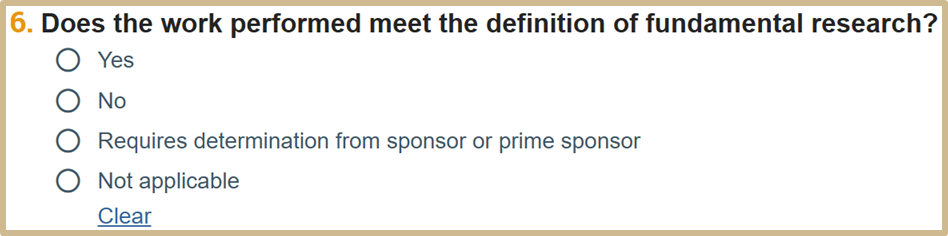
![]() Only if Yes was selected in #6
Only if Yes was selected in #6

![]() Only if Requires determination was selected in #6
Only if Requires determination was selected in #6


![]() Only if Yes was selected in #7
Only if Yes was selected in #7

![]() Only if No was selected in #8
Only if No was selected in #8


![]() Only if Yes was selected in #9
Only if Yes was selected in #9
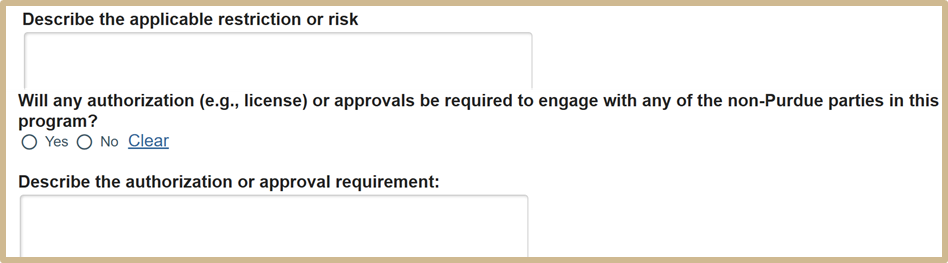
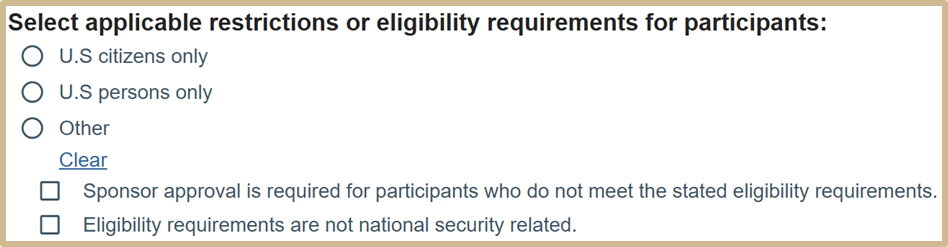
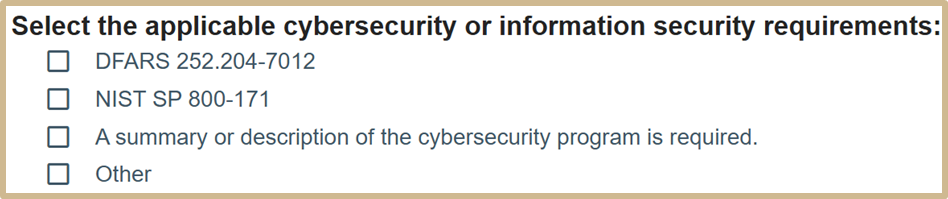
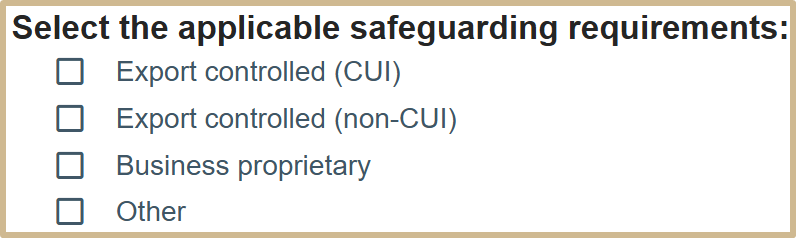
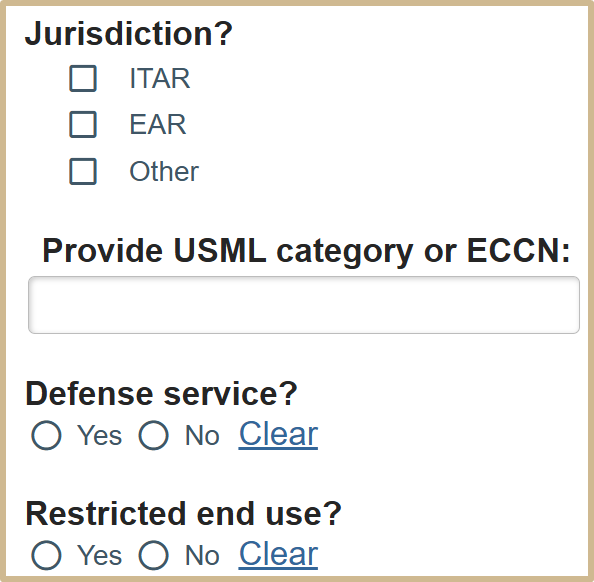
NOTE: On questions 10-15 Export Controls needs to engage with Research Security.

![]() Only if Yes was selected in #10
Only if Yes was selected in #10

![]() Only if Yes was selected in #11
Only if Yes was selected in #11


![]() Only if Yes was selected in #12
Only if Yes was selected in #12


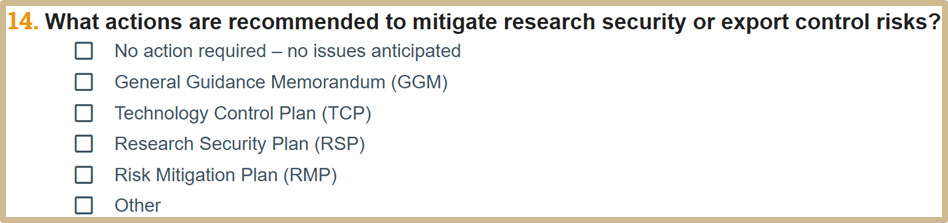
![]() Only if Yes was selected in #13
Only if Yes was selected in #13

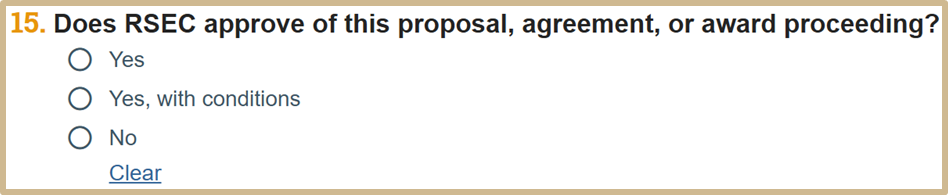
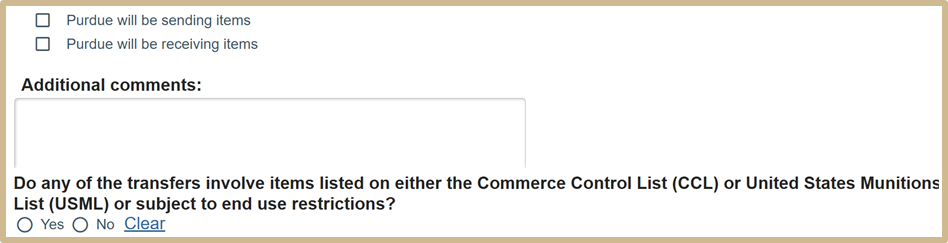
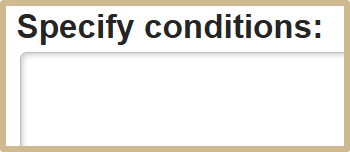
![]() Only if Yes, with conditions was selected in #15
Only if Yes, with conditions was selected in #15
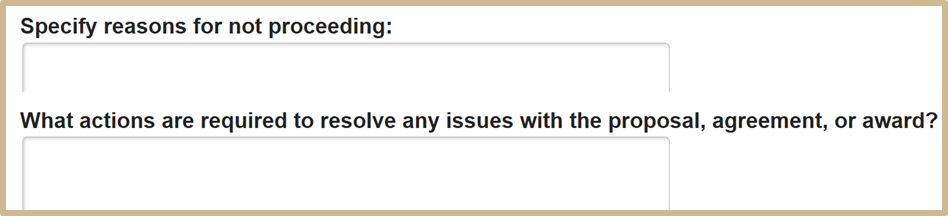
![]() Only if no was selected in #15
Only if no was selected in #15
Once you have finished answering all questions, select OK.
6. Approve Language
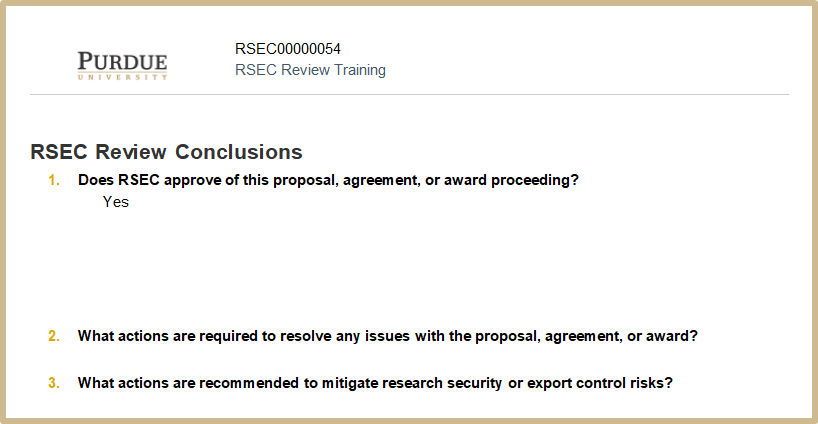
After the RSEC Review Form is complete, the language needs to be approved.

Open the RSEC Review and click “Approve Language”. Fill in all necessary information. When finished, select OK.
7. Generate Agreement
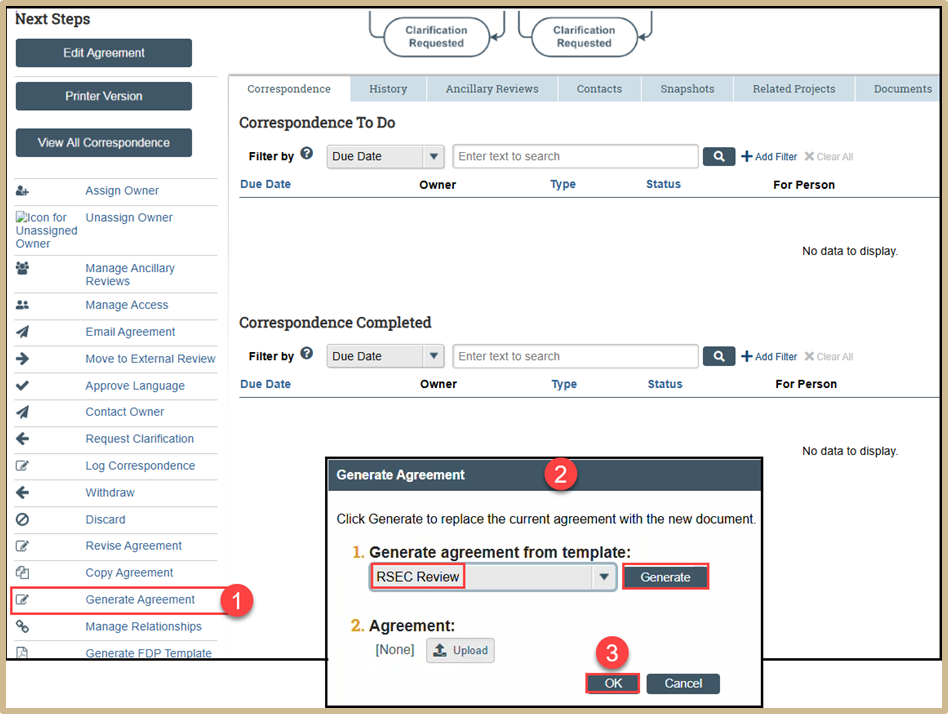
Select Generate Agreement within the RSEC Review. Select RSEC Review under the generated agreement from template drop-down. Click Generate. The agreement will now appear in #2 as a document. Once finished, select OK.
8. Edit Agreement Document
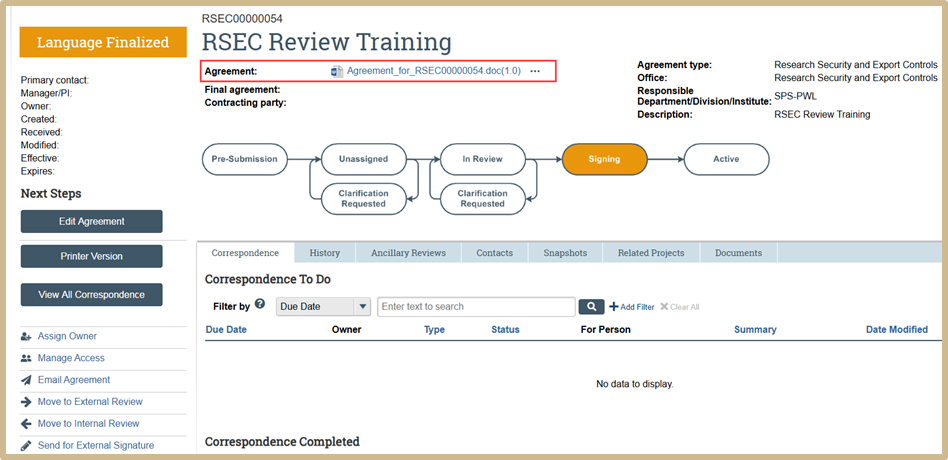
Review the generated agreement by clicking on the link next to Agreement. A document will open with the current RSEC Review.
Make any necessary changes or edits within the word document.
9. Convert to PDF
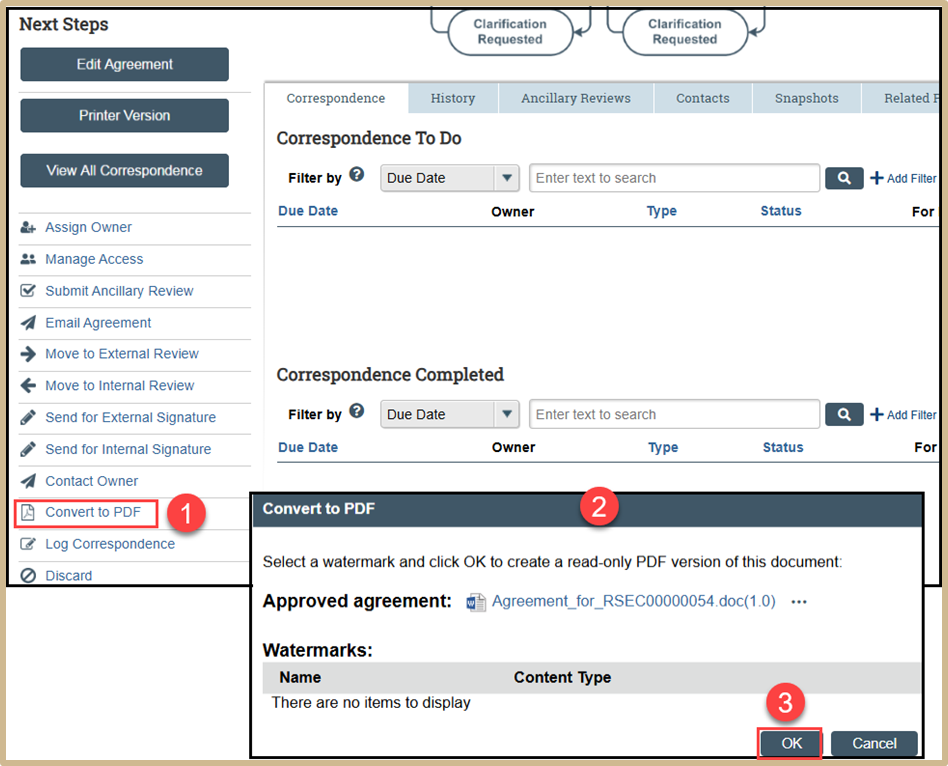
Select Convert to PDF. Click OK to convert the approved agreement to PDF.
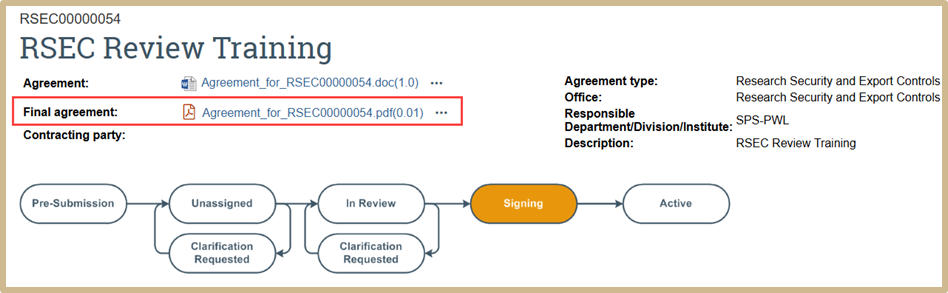
The final agreement for the RSEC Review Form in PDF format will now be visible under the original agreement document. Click on the final agreement and correct the template to remove any comments or notes within the document.
10. Activate RSEC Review
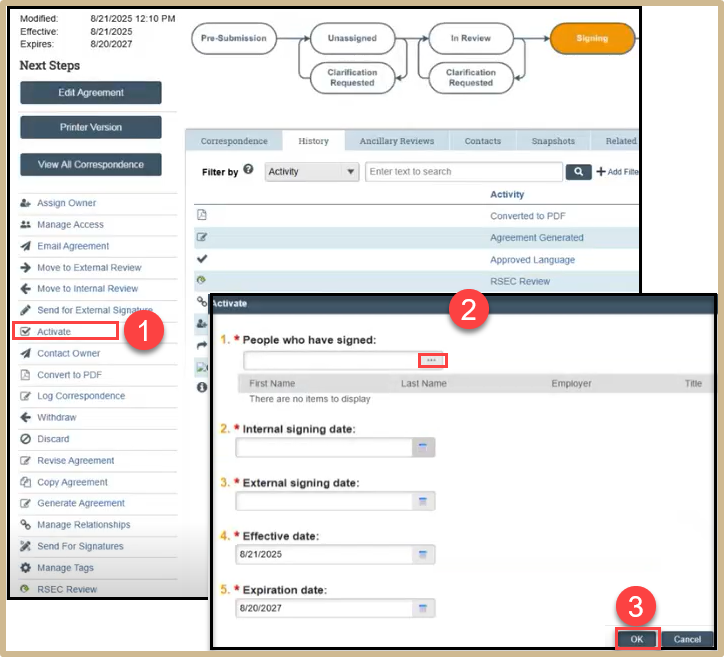
Select Activate. Fill in the people who have signed and add important dates needed. Once finished, select OK.
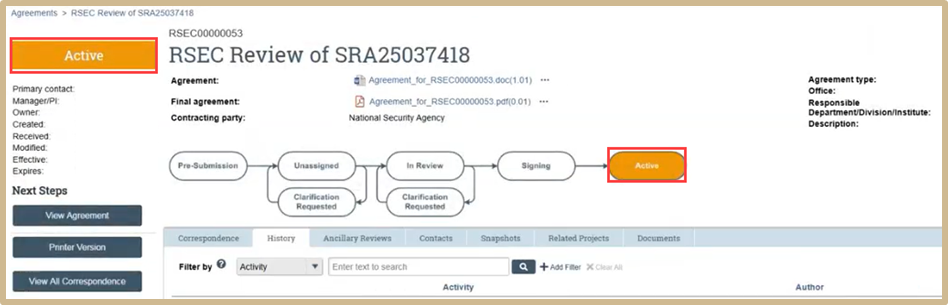
The RSEC Review is now complete.
11. Close Out Ancillary Review
Select Submit Ancillary Review.
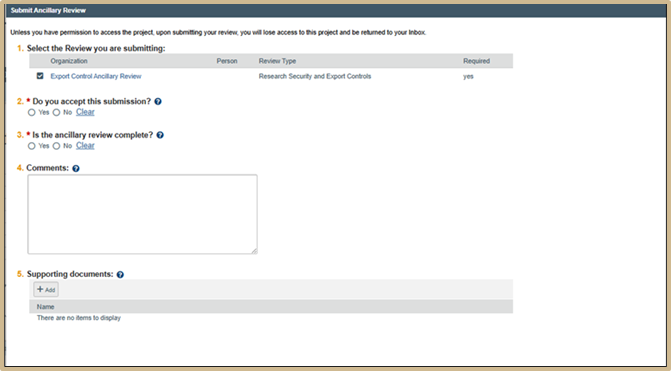
Review the questions related to the ancillary review you are submitting. Add any comment or supporting documentation. When finished, select OK.