Non-Disclosure Agreements
This guide shows how to create and fill out a non-disclosure agreement.
Download the infographic for a larger view.

How to Create a Non-Disclosure Agreement Request (NDA)
Step 1: NDA Agreement Information
To create an NDA, you will first create an agreement and specify that you need an NDA on the Agreement Upload smartform page. You must also complete all the required fields on the General Information smartform page.
![]() NOTE
NOTE
If additional collaborators are added for question #7 on the General Information smartform, they will receive system-related notifications from the PERA system. No action is required by the collaborators only the PI.

The NDA Agreement Information will populate with questions.
Begin answering the questions.
1.

![]() This field is necessary for the completion of the NDA request. If this field is left blank or with insufficient information, the request will be returned to the PI or Primary Contact until the information is provided.
This field is necessary for the completion of the NDA request. If this field is left blank or with insufficient information, the request will be returned to the PI or Primary Contact until the information is provided.
2.

![]() NOTE
NOTE
Institution refers to Purdue.
3.

4.

5.

Select Continue to proceed to NDA Additional Information.
Step 2: NDA Additional Information

The NDA Additional Information will populate with questions.
1.

![]() NOTE:
NOTE:
Co-mingle: intermix or have the potential to be absorbed into similar information the PI already has.
2.
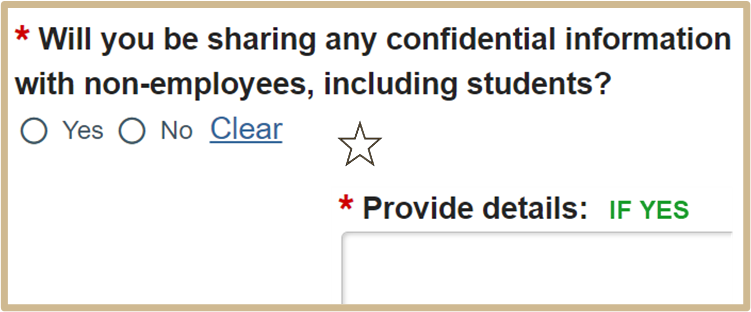
3.

![]() If you have submitted an invention disclosure to OTC, but will also submit a disclosure in the future for confidential information related to this NDA, please answer No to Question 3 and Yes to Question 4.
If you have submitted an invention disclosure to OTC, but will also submit a disclosure in the future for confidential information related to this NDA, please answer No to Question 3 and Yes to Question 4.
If this is the case, please provide information for both submitted and future disclosures.
4.

5.
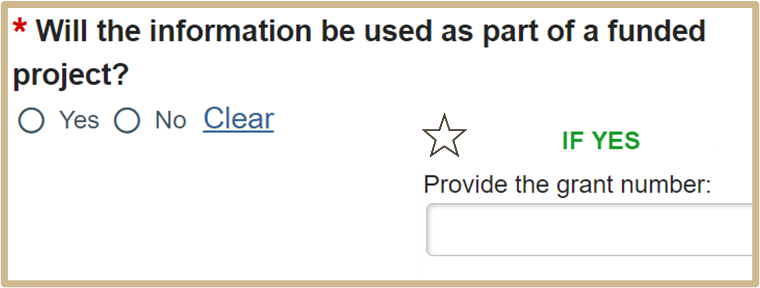
6.
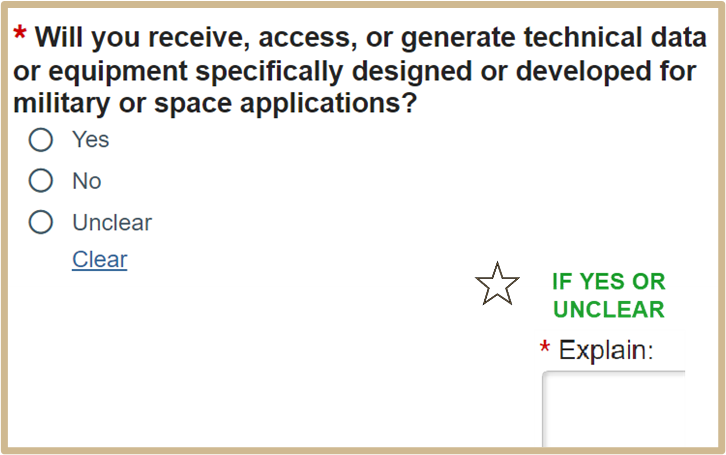
7.
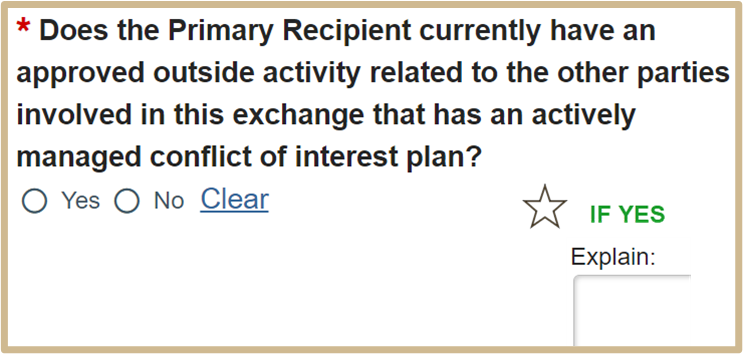
![]() NOTE
NOTE
Please select Yes if you have any relevant outside activities related to this.
8.
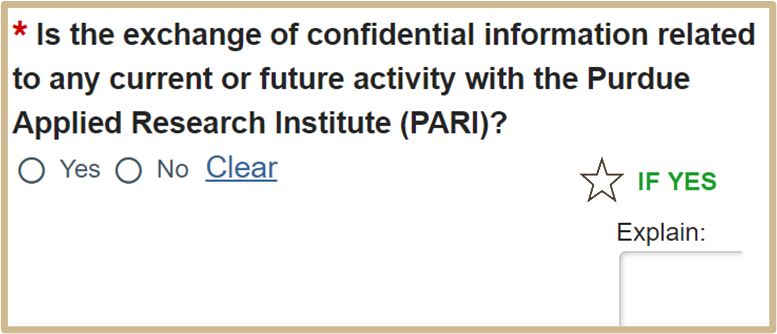
![]() NOTE
NOTE
The explain field is necessary for the completion of the NDA request. If this field is left blank or with insufficient information, the request will be returned to the PI or Primary Contact until the information is provided.
Step 3: Completion Instructions

The Completion Instructions page will be shown last.

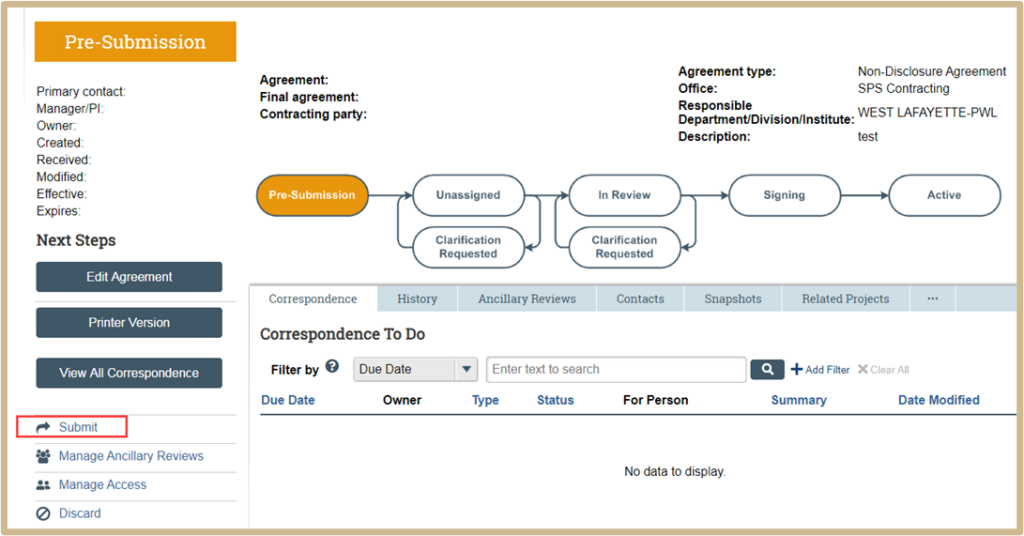
![]() When you select Finish, on the Completion Instructions page, you have not yet finished all the steps to send the agreement for review. You have the option to continue editing the agreement. Before the Agreement Office can review it, you must submit it for review from the workspace. You will find the submit options after you select Finish.
When you select Finish, on the Completion Instructions page, you have not yet finished all the steps to send the agreement for review. You have the option to continue editing the agreement. Before the Agreement Office can review it, you must submit it for review from the workspace. You will find the submit options after you select Finish.
Your request is not complete and will not be processed
until it is submitted.
- If the flow chart has Pre-Submission indicated, your project has NOT been properly submitted.
- When properly submitted, the flow chart will move to Unassigned.
Content Updated: